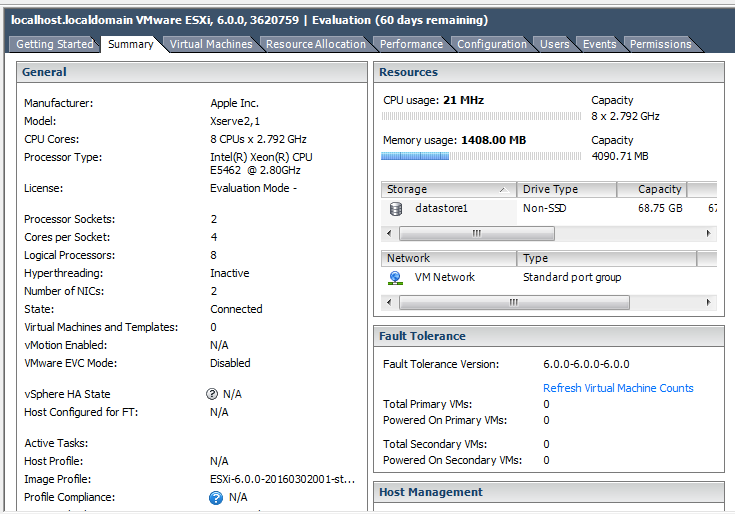
I wanted to virtualize Macs for testing without having to go through Hackintosh shenanigans. So I got a 2008 XServe 2,1 to use as the host.
What’s wrong with this picture? Answer: “Everything."
This article is really just a compendium of other people’s notes and howtos. I would NEVER have succeeded with this project if not for the generosity of numerous strangers on the Internet who not only took the time to figure out the answers, but documented and published them as well. This is my feeble attempt to give back in some small way.
PHASE I: A Mac-compatible VMWare installer. I followed this: http://blog.macrepairsouthlondon.com/hardware/networking/create-esxi-usb-installer-mac-os-x/ Which basically equates to:
1. Get the installer (make free account on VMWare site, download ISO). In my case, I went with ESXi 6 — the download was named, literally, "VMware-VMvisor-Installer-6.0.0.update02-3620759.x86_64.iso”.)
2. Get a small (1GB is enough) USB key, make sure it’s the kind that Macs like (I’ve encountered one make/model that could NOT be formatted/erased with a Mac, but of course I can’t remember which one — just test beforehand that Disk Utility lets you partition it.)
3. Use Disk Utility to format the USB key with Master Boot record partition map and FAT32 file system.
4. Open Terminal, type “diskutil list”, note the system name for the USB key — probably something like /dev/disk2 but it CAN VARY FROM SYSTEM TO SYSTEM SO BE CAREFUL. Type diskutil unmount /dev/DISKNUMBER.
5. Type fdisk -e /dev/DISKNUMBER
6. Type f 1 (return) to flag the first partition as active/bootable and exit fdisk, save/write changes if prompted.
7. Mount the ESXi installer iso you downloaded in step 1 and copy all of its contents to the USB drive (you can just drag-copy in the Finder.) Unmount/eject the ISO.
8. On the USB drive, find the file ISOLINUX.CFG and open it in a plain text editor (e.g. TextWrangler.) Find the line that starts ‘APPEND -c boot.cfg’ and add ‘-p 1’ on the end (without the quotes). When finished, it should look something like this:
DEFAULT menu.c32
MENU TITLE ESXi-6.0.0-20160302001-standard Boot Menu
NOHALT 1
PROMPT 0
TIMEOUT 80
LABEL install
KERNEL mboot.c32
APPEND -c boot.cfg -p 1
MENU LABEL ESXi-6.0.0-20160302001-standard ^Installer
LABEL hddboot
LOCALBOOT 0x80
MENU LABEL ^Boot from local disk
9. Insert the USB drive into your Mac, boot with the option key held down, choose it, and it should work.
PHASE II: Drive Detection. The VMWare installer booted and reached the installer screen, yay! But, it didn’t detect any of the three installed hard drives, boo. This is because this XServe had an Apple hardware RAID card, part number 630-9324 aka 820-2349 aka model number A1248, and VMWare can’t cope with that.
From reading this: http://www.virtuallyghetto.com/2015/08/esxi-6-0-on-apple-xserve-21.html I determined that what I needed was a plain old SATA backplane, part number 661-4648 aka 820-2191, which I found on eBay for about $25. Whee! I referred to Apple’s “Xserve_RAID_Card_Battery_DIYInstructions.pdf” for how to uninstall the RAID card and its battery, then installed the SATA backplane in its place. VMWare now saw all three drives. YES!! I installed to the small boot drive (80GB original Apple spinning SATA drive), and all was well.
Some of the references I was reading indicated that some people had issues with networking on XServes, but I have not. Perhaps because I’m using the on-board ports, vs. PCI NICs. Also, at least one guy had to keep a monitor connected to the server for stability; I don’t think I’ve had any trouble in that area — mine’s been headless since the initial VMWare installation — but, out of superstition, I’ve left a Mini DVI to VGA dongle connected to the XServe.
PHASE III: Prep for a guest Mac. I needed installer “media” to present to the VM. I followed the second section of this: https://www.linkedin.com/pulse/install-mac-os-x-el-capitan-1011-vmware-esxi-60-apple-abhinav-biswas This is largely a copypaste in case that article vanishes:
1. Download the installer “app” for the guest OS version you want to install. It’ll be named something like “Install OS X El Capitan.app”.
2. Paste the following into the script file and save — be mindful of line breaks:
#!/bin/bash
# Mount the installer image
hdiutil attach /Applications/Install\ OS\ X\ El\ Capitan.app/Contents/SharedSupport/InstallESD.dmg -noverify -nobrowse -mountpoint /Volumes/install_app
# Create the ElCapitan Blank ISO Image of 7316mb with a Single Partition - Apple Partition Map
hdiutil create -o /tmp/ElCapitan.cdr -size 7316m -layout SPUD -fs HFS+J
# Mount the ElCapitan Blank ISO Image
hdiutil attach /tmp/ElCapitan.cdr.dmg -noverify -nobrowse -mountpoint /Volumes/install_build
# Restore the Base System into the ElCapitan Blank ISO Image
asr restore -source /Volumes/install_app/BaseSystem.dmg -target /Volumes/install_build -noprompt -noverify -erase
# Remove Package link and replace with actual files
rm /Volumes/OS\ X\ Base\ System/System/Installation/Packages
cp -rp /Volumes/install_app/Packages /Volumes/OS\ X\ Base\ System/System/Installation/
# Copy El Capitan installer dependencies
cp -rp /Volumes/install_app/BaseSystem.chunklist /Volumes/OS\ X\ Base\ System/BaseSystem.chunklist
cp -rp /Volumes/install_app/BaseSystem.dmg /Volumes/OS\ X\ Base\ System/BaseSystem.dmg
# Unmount the installer image
hdiutil detach /Volumes/install_app
# Unmount the ElCapitan ISO Image
hdiutil detach /Volumes/OS\ X\ Base\ System/
# Convert the ElCapitan ISO Image to ISO/CD master (Optional)
hdiutil convert /tmp/ElCapitan.cdr.dmg -format UDTO -o /tmp/ElCapitan.iso
# Rename the ElCapitan ISO Image and move it to the desktop
mv /tmp/ElCapitan.iso.cdr ~/Desktop/ElCapitan.iso
chmod +x thisscript.sh and run with sh ./thisscript.sh. Once done, it should have created a file called ElCapitan.iso on your desktop. Upload that to the VMWare’s datastore.